Custom API Integration Guide
Learn how to connect your agent to any external service using Custom API integration.
1. Overview
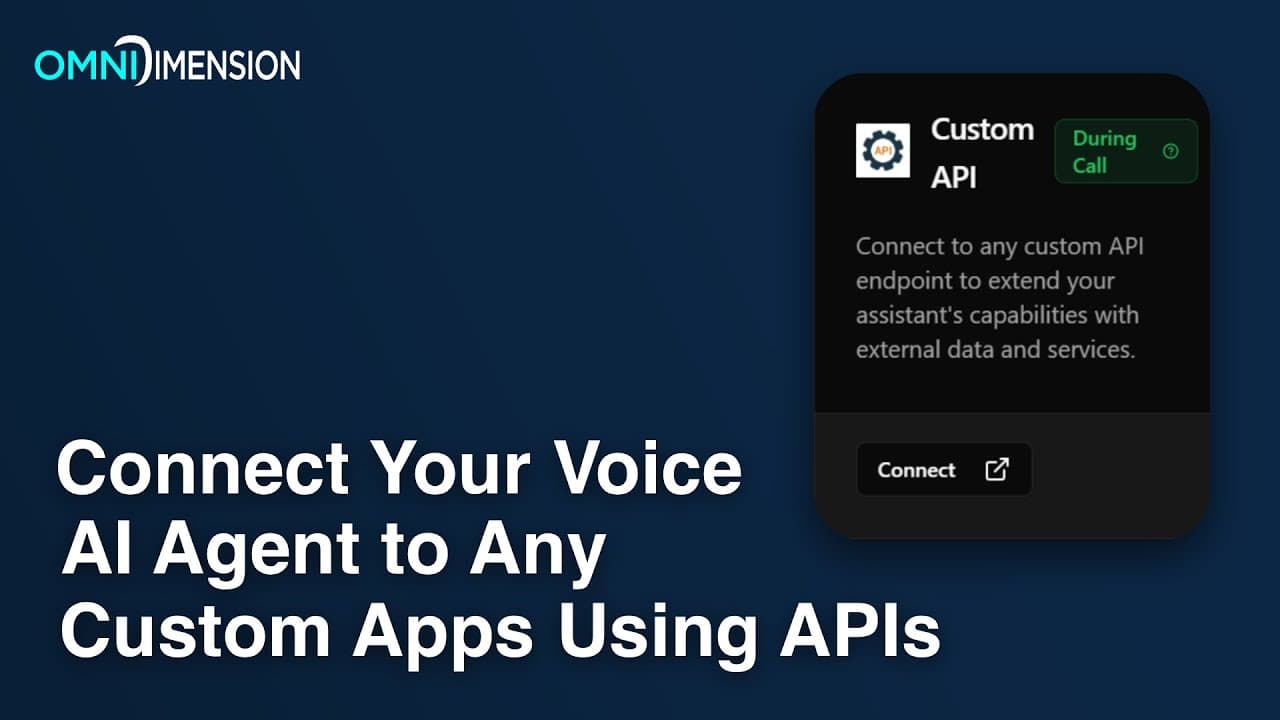
Custom API integration connects your agent to external services through REST APIs, allowing it to fetch data or perform actions using third-party services.
2. Key Benefits
- Access external data sources in real-time
- Connect to your own backend services
- Integrate with virtually any REST API endpoint
- Extend your agent's capabilities with custom functionality
Video Tutorial
Video Tutorial: Connect Custom APIs
Learn how to connect your Voice AI Agent to any custom app using APIs.
3. Setup Option 1: From Main Dashboard
- Go to Integrations page in your dashboard
- Select the All Integrations tab
- Find the Custom API card and click Connect
- Configure your API (see configuration details below)
- Test your configuration in the Test tab
- Go to your agent's edit page → Integrations tab
- Attach the integration from the dropdown
Connecting from dashboard

Custom API config in dashboard

4. Setup Option 2: From Agent Configuration
- Go to your agent's edit page
- Select the Integrations tab
- Under Connect New Integrations, find Custom API and click Connect
- Configure your API
- Test your configuration
- The integration will automatically attach to your agent
5. Setup Option 3: From Chat Interface
- Ask in chat using natural language like 'Connect my CRM api' or 'Connect my Airtable api'
- A connection widget will automatically appear
- Click on Add integration to navigate to the integration tab
- Under Connect New Integrations, find Custom API Integration and click Connect
- Configure your integration
6. Configuration Guide - Basic Settings
- Integration Name: Choose a descriptive name (e.g., 'Weather API')
- Description: Explain the API's purpose and usage (important for LLM tool calling)
- URL: Full endpoint URL (e.g., https://api.example.com/data)
- Method: Select HTTP method (GET, POST, PUT, DELETE)
7. Configuration Guide - Headers
- Authorization tokens
- Content-Type specifications
- API keys
- Custom headers
8. Configuration Guide - Parameters
Specify both query parameters (GET) and body parameters (POST/PUT).
- Name: Parameter identifier
- Description: Purpose of this parameter
- Required: Toggle between optional/required
- Data Type: Select from dropdown
- AI Generated: Toggle whether the AI should dynamically generate values
Adding query or body parameters

9. Testing Your Integration
- Navigate to the Test tab
- Enter test values for all parameters
- Click Test API to verify the connection
- After successful testing, click Save Integration
Running a test before saving integration

10. Using With Your Agent
- Once connected, your agent will automatically use this API when appropriate
- Usage is determined based on the API description you provide
11. Example of Using Custom API
Example of using Airtable with custom API integration.
Custom API Airtable integration sample

12. Pro Tips
- Provide detailed descriptions for AI-generated parameters
- Use specific examples in your descriptions
- Test thoroughly before deploying to production